Inventory Transfer Procedure
Objective
This SOP outlines the steps required to transfer inventory between stores and confirm the transfer in the system.
Key Steps
Step 1: Access Inventory Menu 0:00
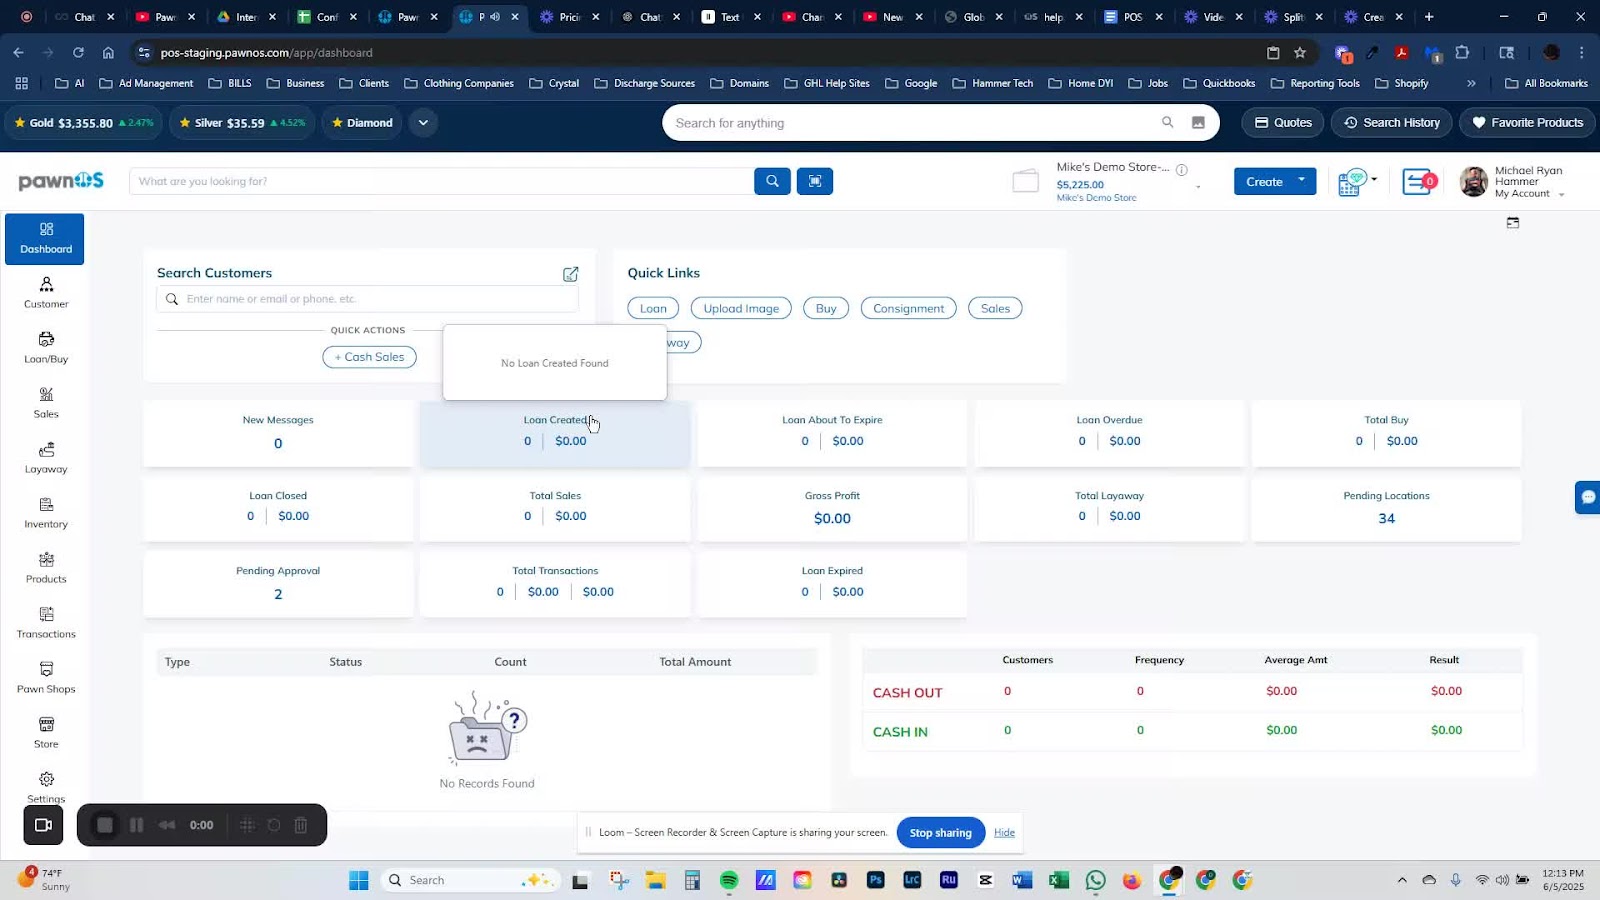
Click on Inventory in the left menu.
This will open the inventory management options.
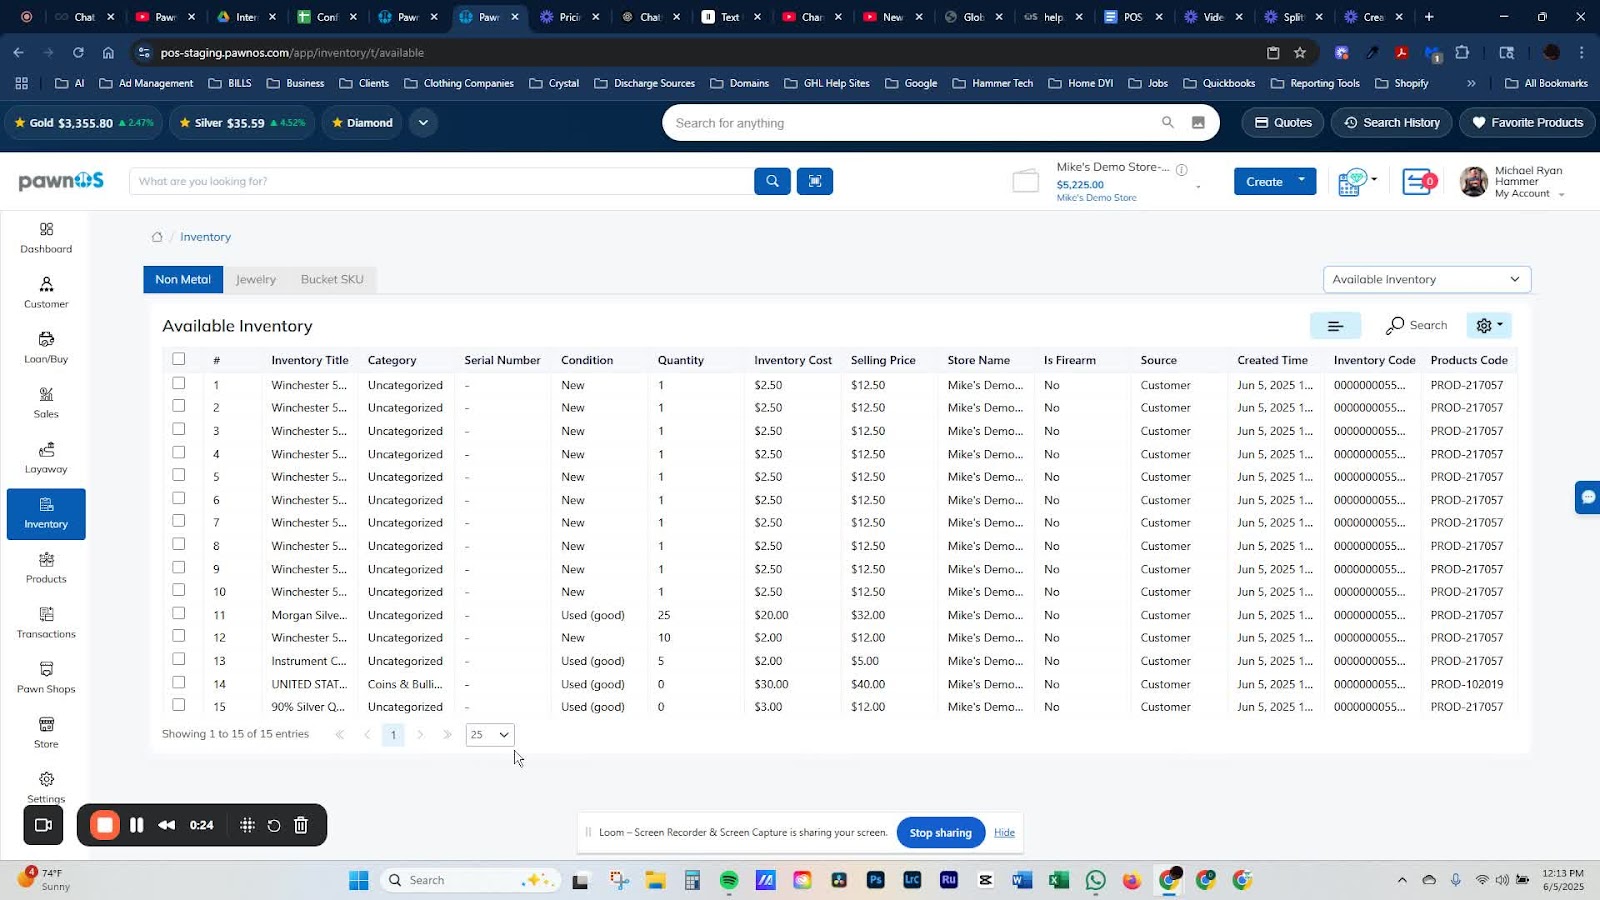
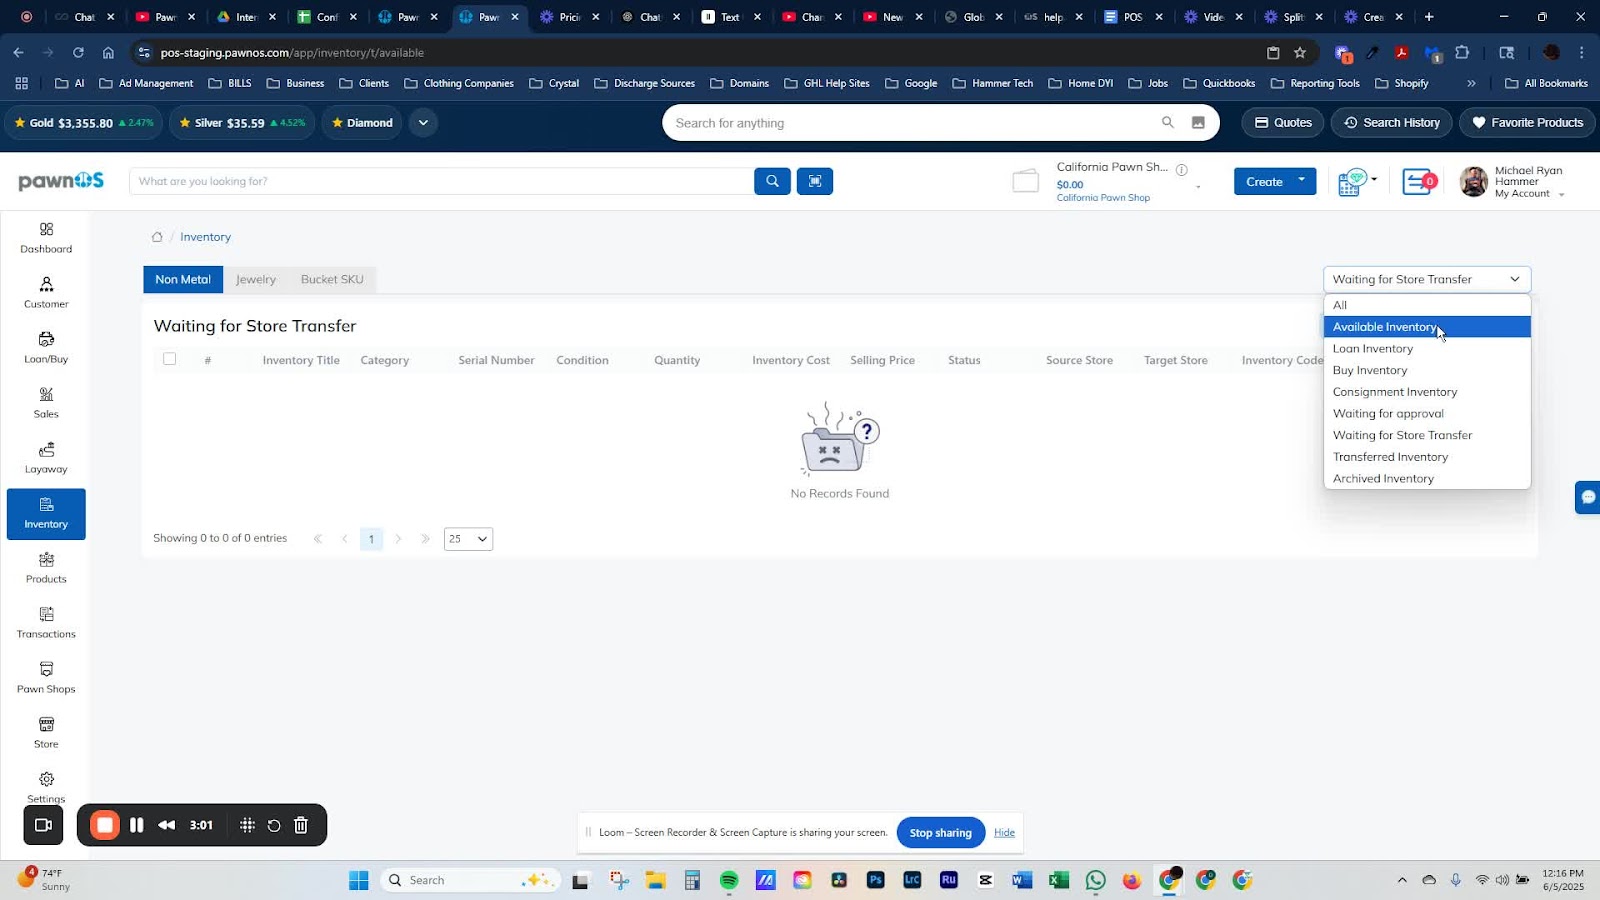
Step 2: Select Available Inventory 0:16
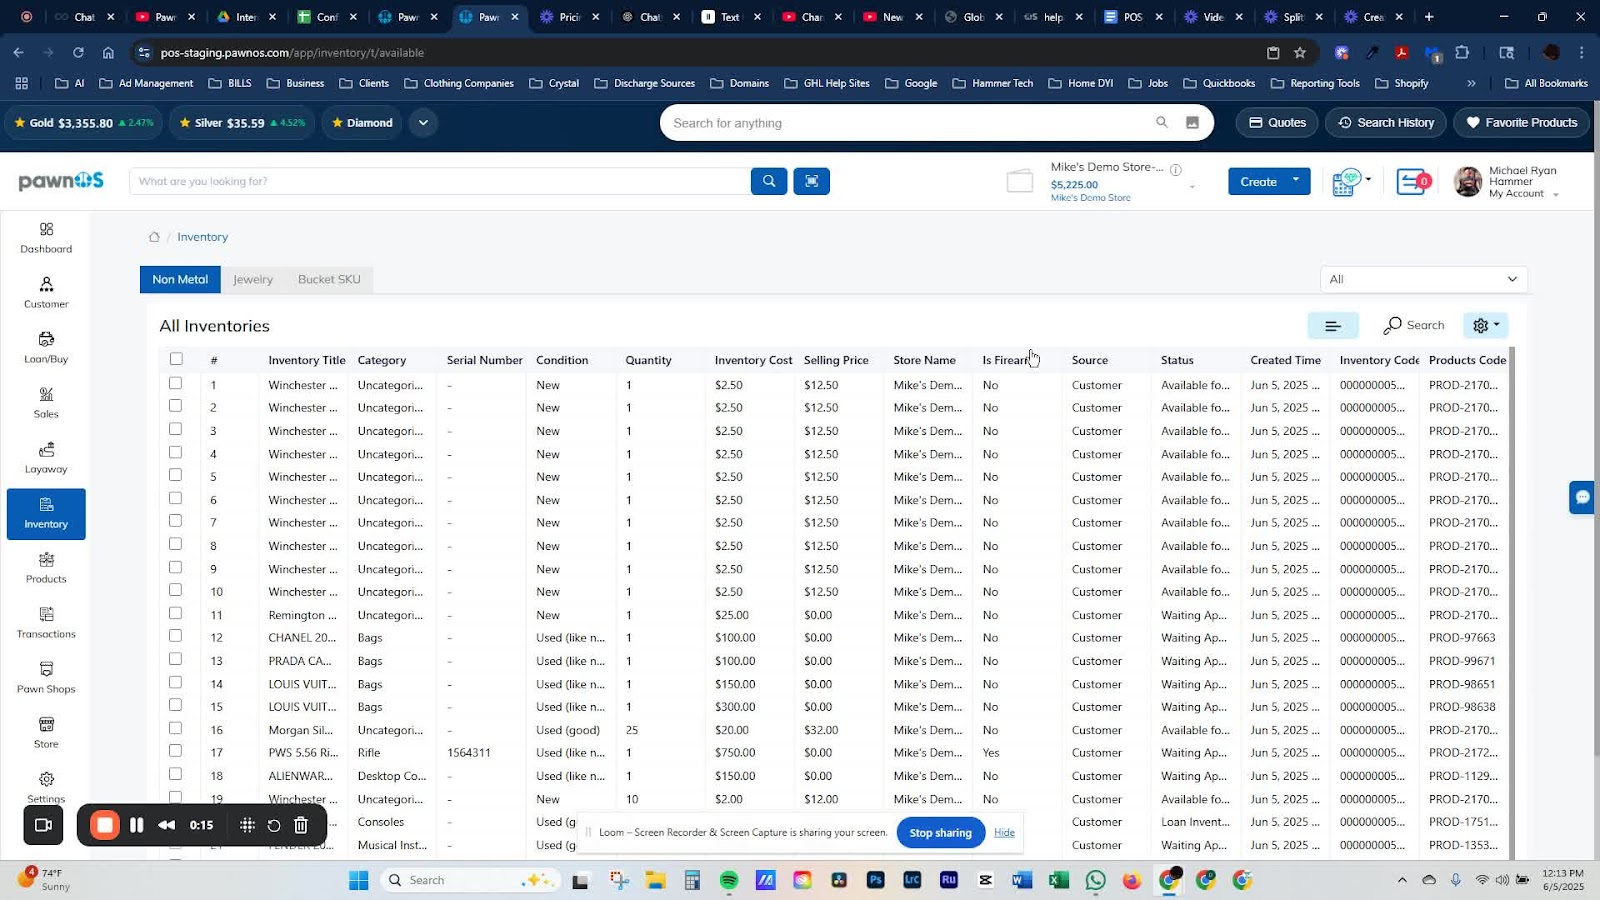
From the drop-down menu on the right, select Available Inventory.
This displays all inventory currently in the store.
Step 3: Choose Items for Transfer 0:25
Identify the items to transfer (e.g., instrument cables).
Select the instrument cables from the inventory list.
Step 4: Initiate Transfer 0:48
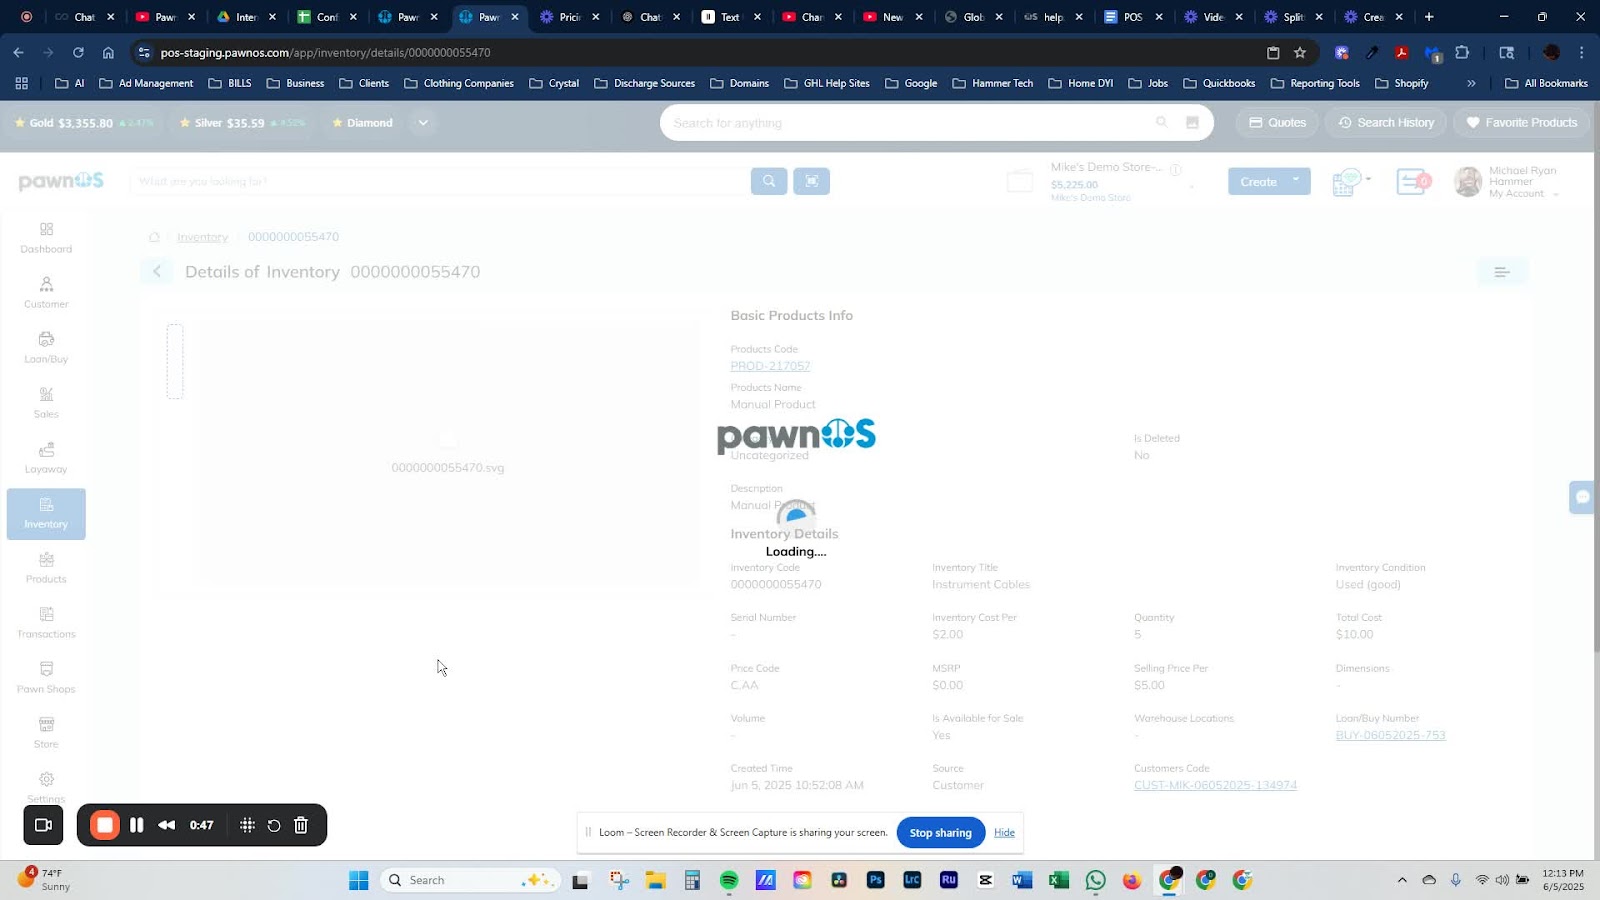
Click on the three-line menu in the top right corner.
Select Transfer from the options.
Step 5: Confirm Transfer Details 1:17
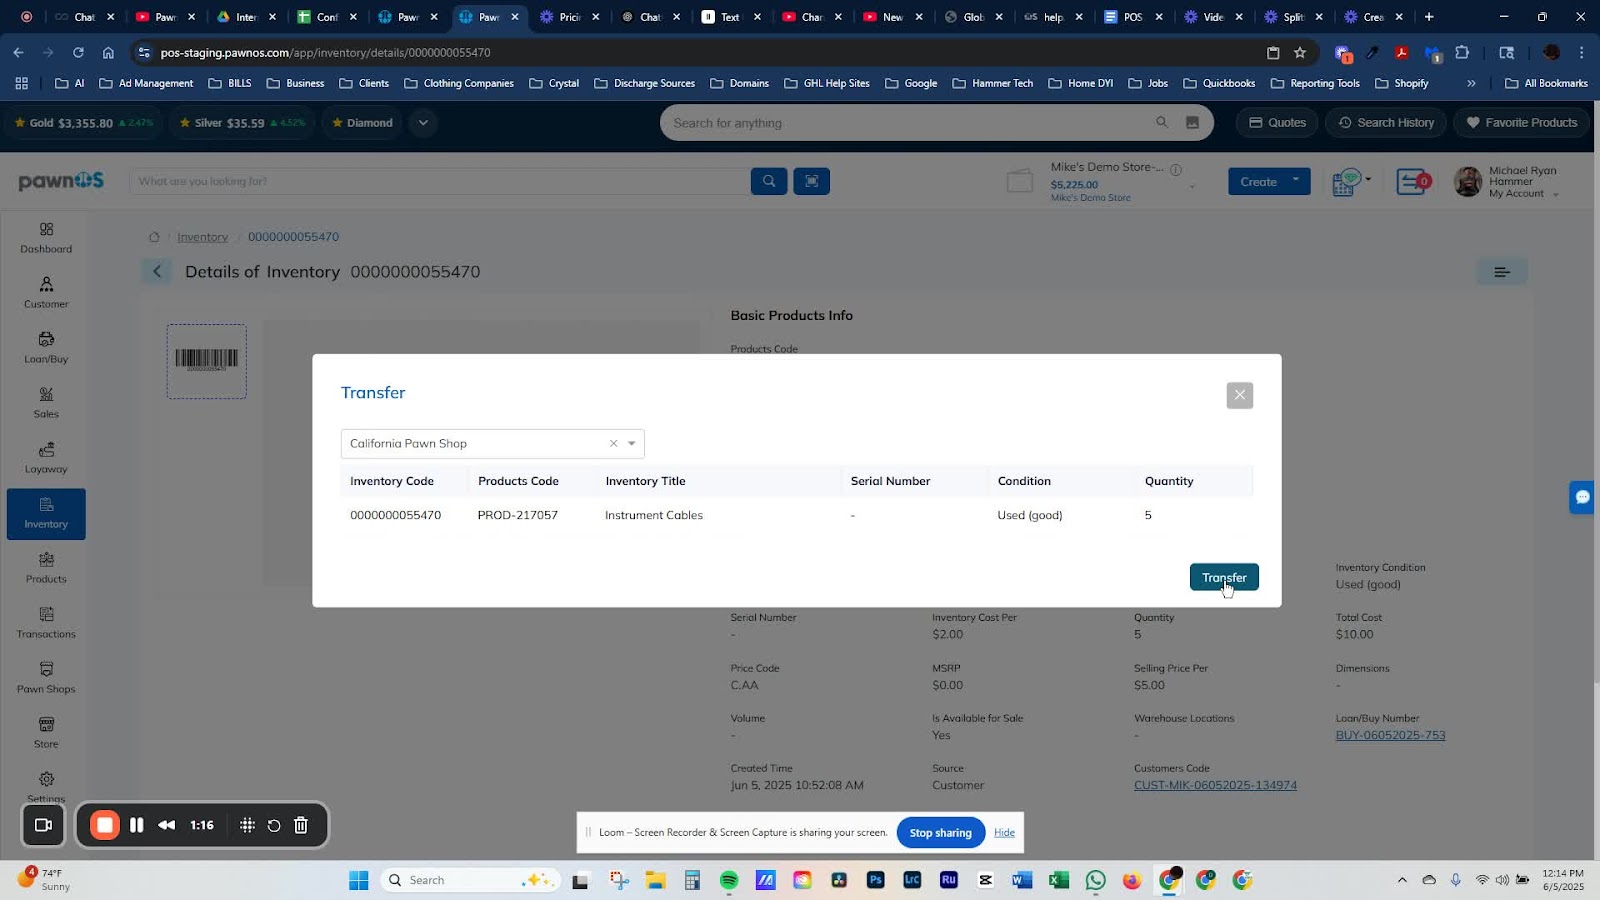
Choose the destination store (e.g., California Shop).
Click on Transfer to initiate the transfer.
Step 6: Verify Transfer in Destination Store 1:39

Navigate to the California Store.
Click on the menu drop-down to confirm you are signed into the California Pawn Shop.
Step 7: Check for Incoming Inventory 2:07
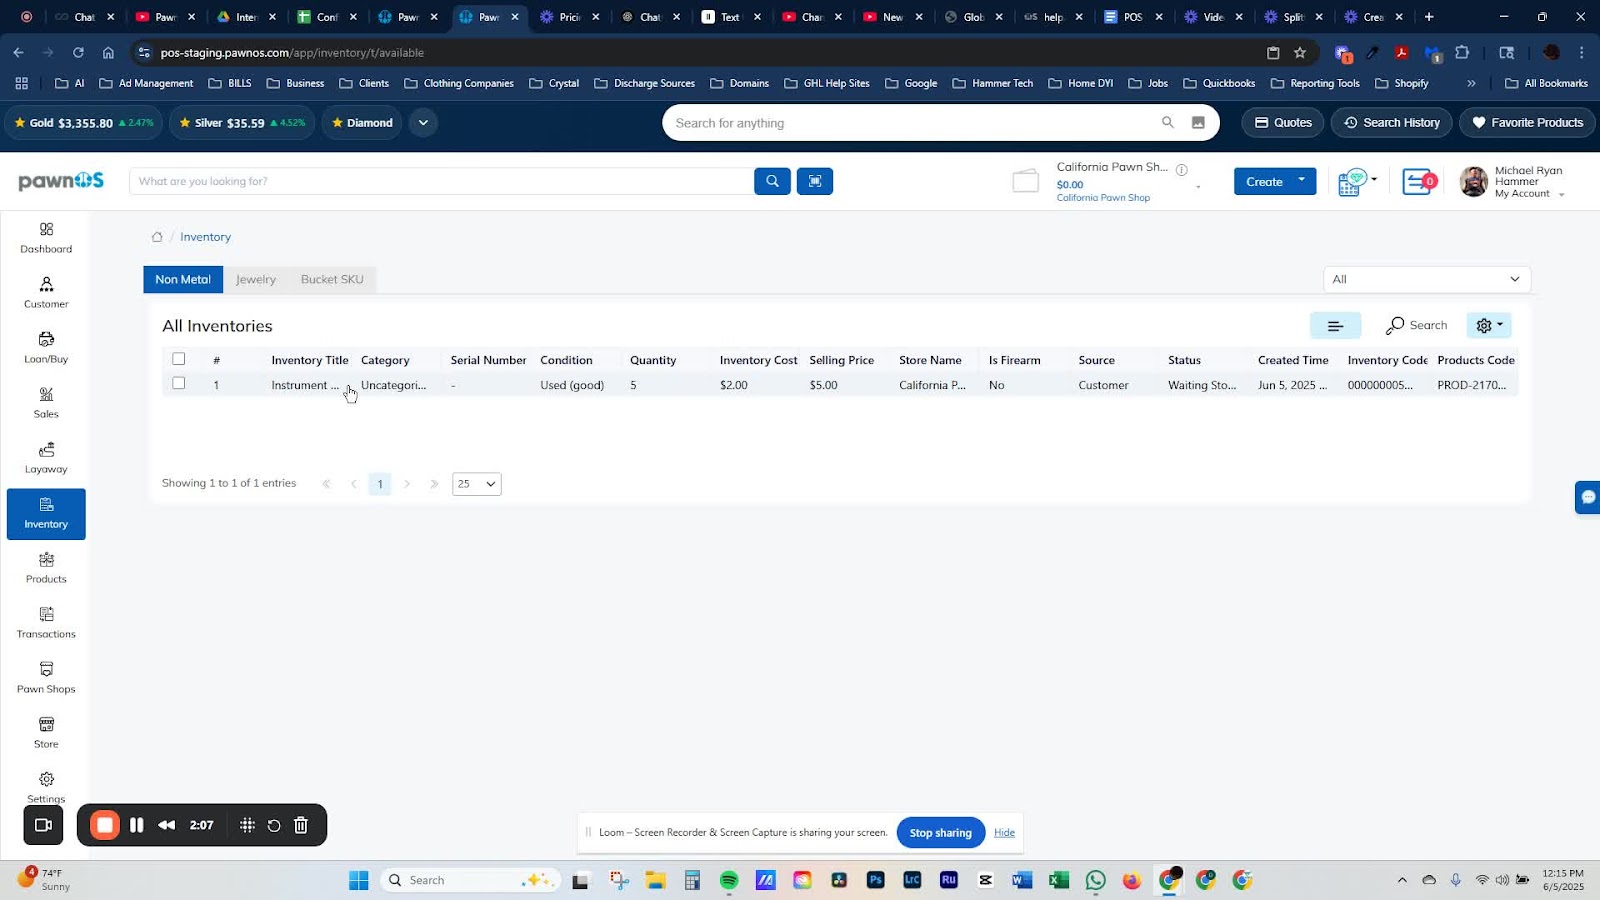
Look for the transferred instrument cables in the inventory list.
Step 8: Confirm Transfer 2:25
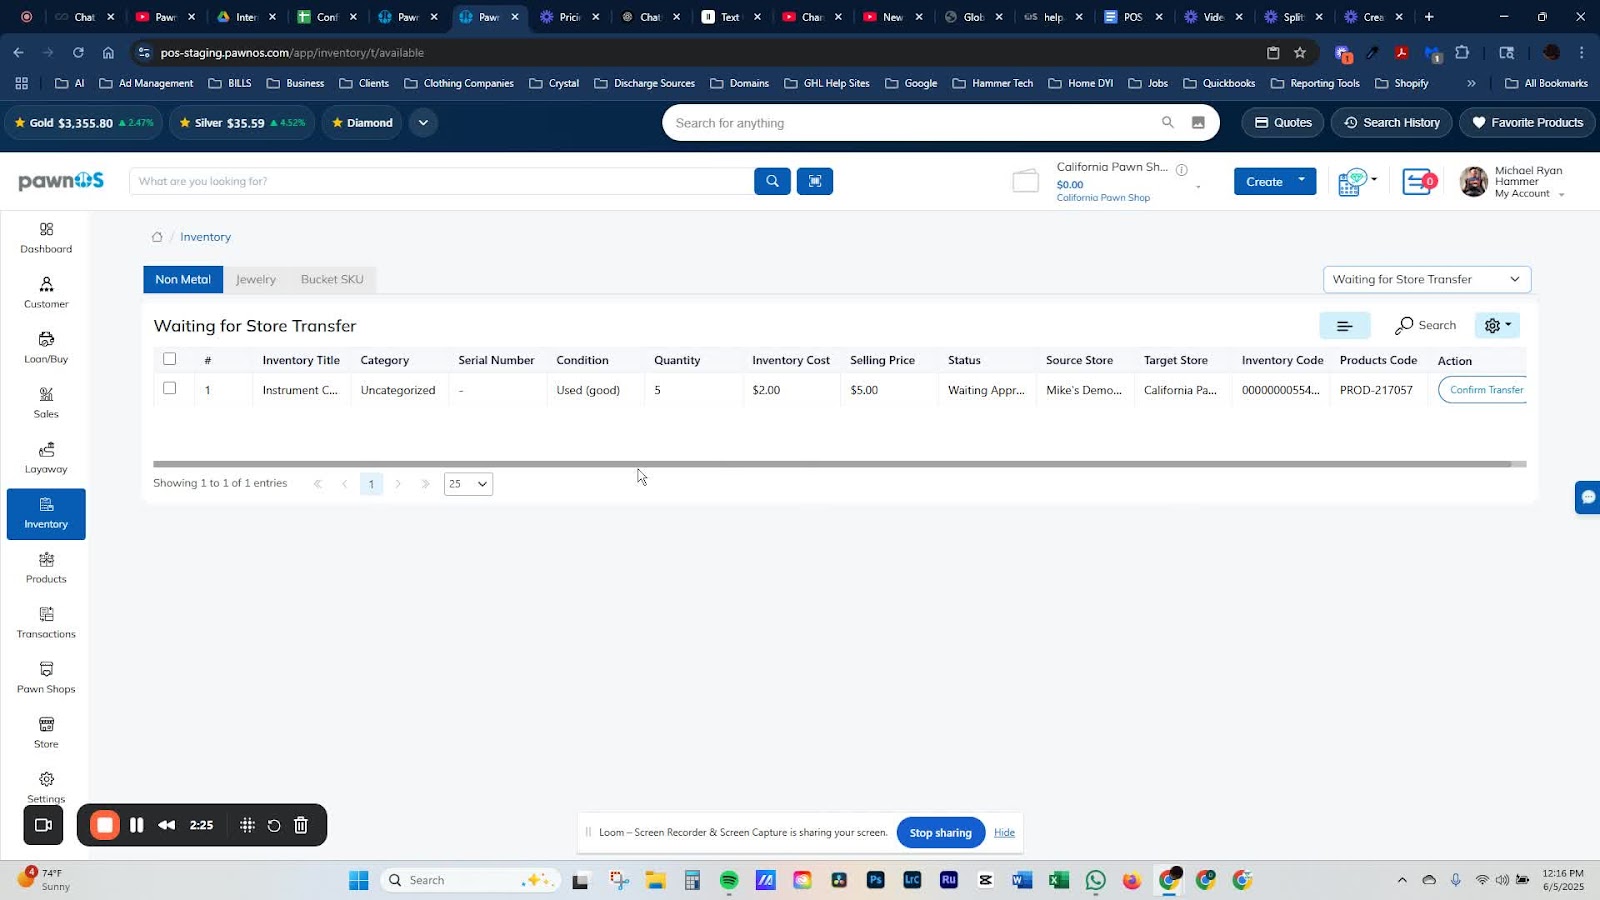
If waiting for store approval, select Waiting for Store Transfer from the drop-down.
Scroll to the right and click Confirm Transfer.
Step 9: Finalize Transfer Confirmation 2:37
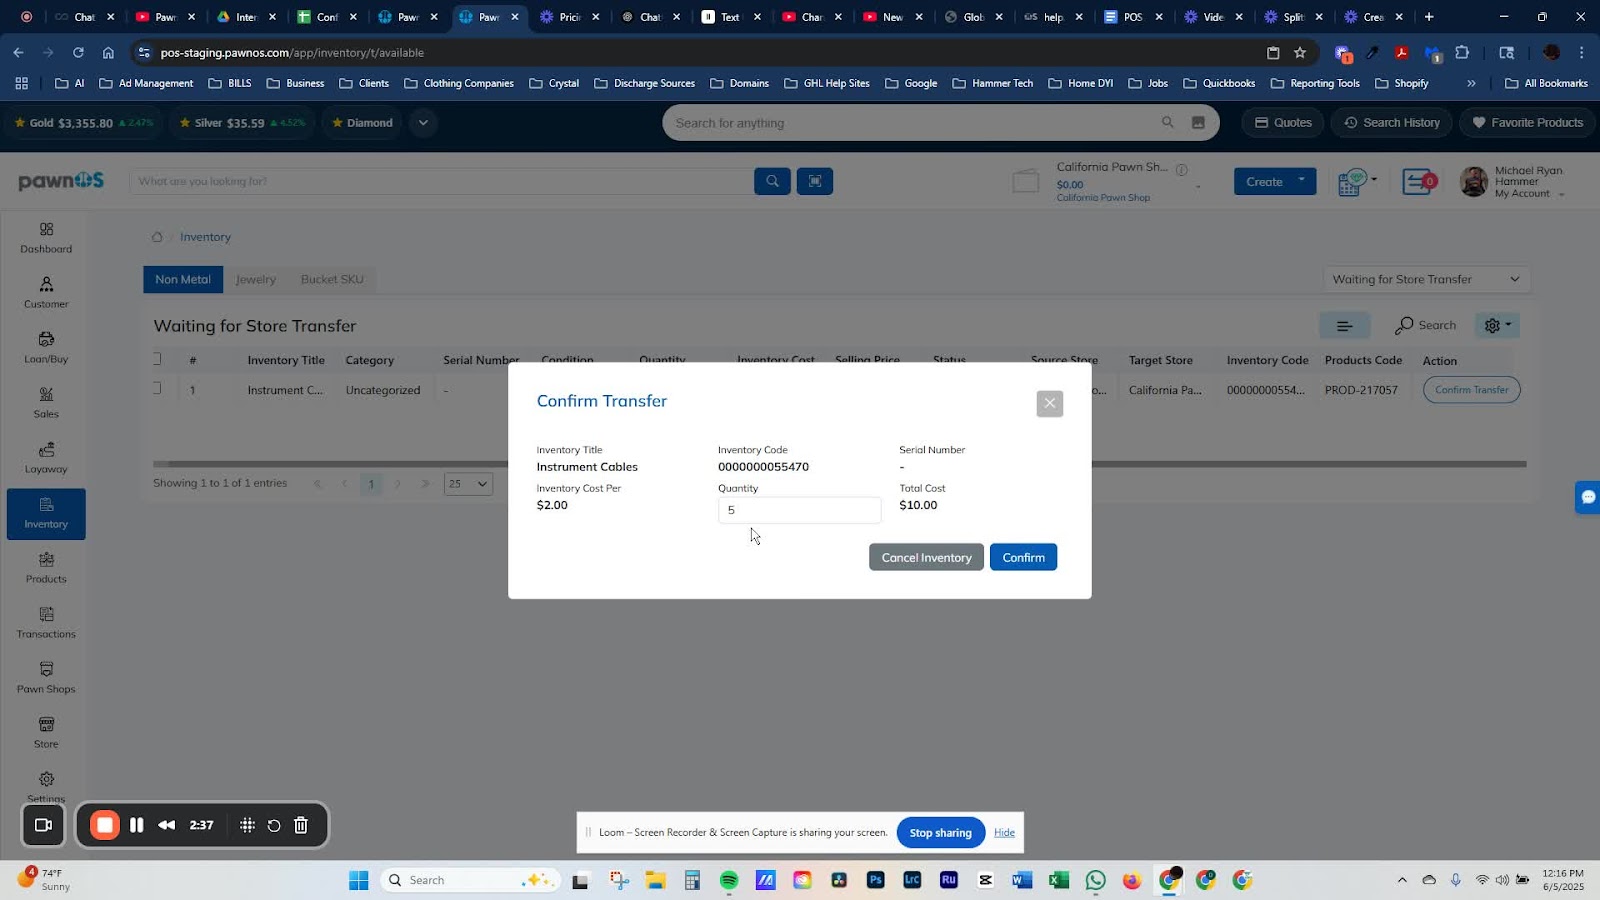
Confirm the quantity being transferred (e.g., five instrument cables).
Click Confirm to finalize the transfer.
Step 10: Verify Inventory Availability 2:46

Go back to the inventory menu and select Available Inventory.
Check that the transferred items are now listed as available.
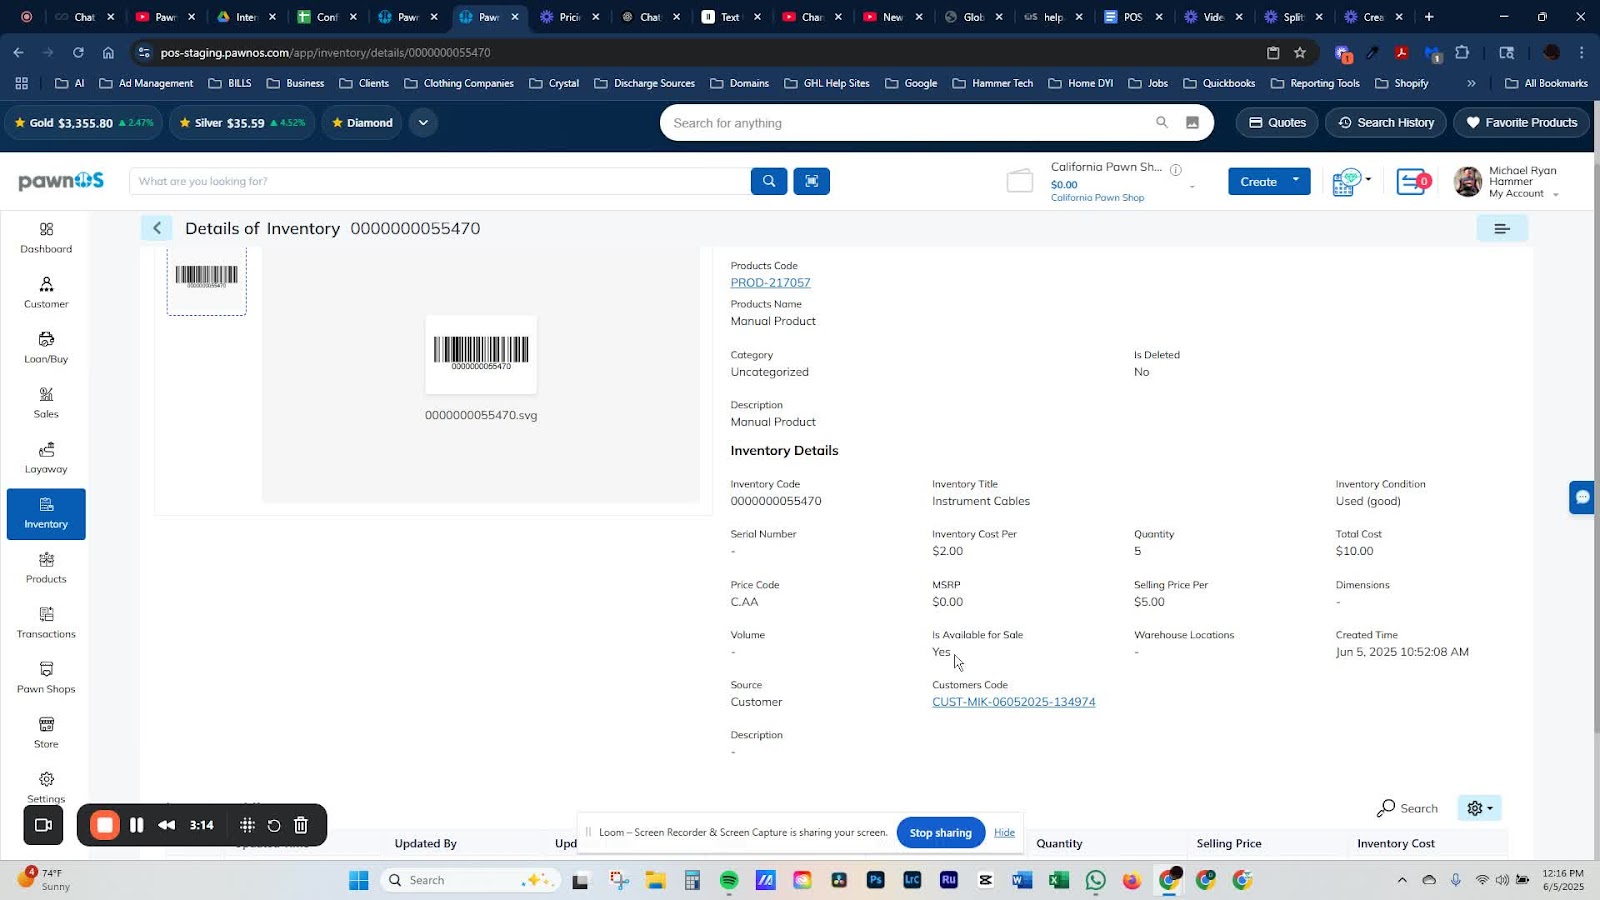
Step 11: Confirm Items are Available for Sale 3:01
Click on the transferred items to ensure they are available for sale.
Step 12: Complete the Process 3:14
Ensure all steps are completed and the inventory is successfully transferred and confirmed.
Cautionary Notes
Ensure that the correct items are selected for transfer to avoid inventory discrepancies.
Double-check the destination store before confirming the transfer.
Tips for Efficiency
Familiarize yourself with the inventory management system to speed up the process.
Keep a checklist of items to transfer to ensure nothing is missed.
Link to Loom
https://loom.com/share/7897ac8633554900a7e46d9c4aef8e71